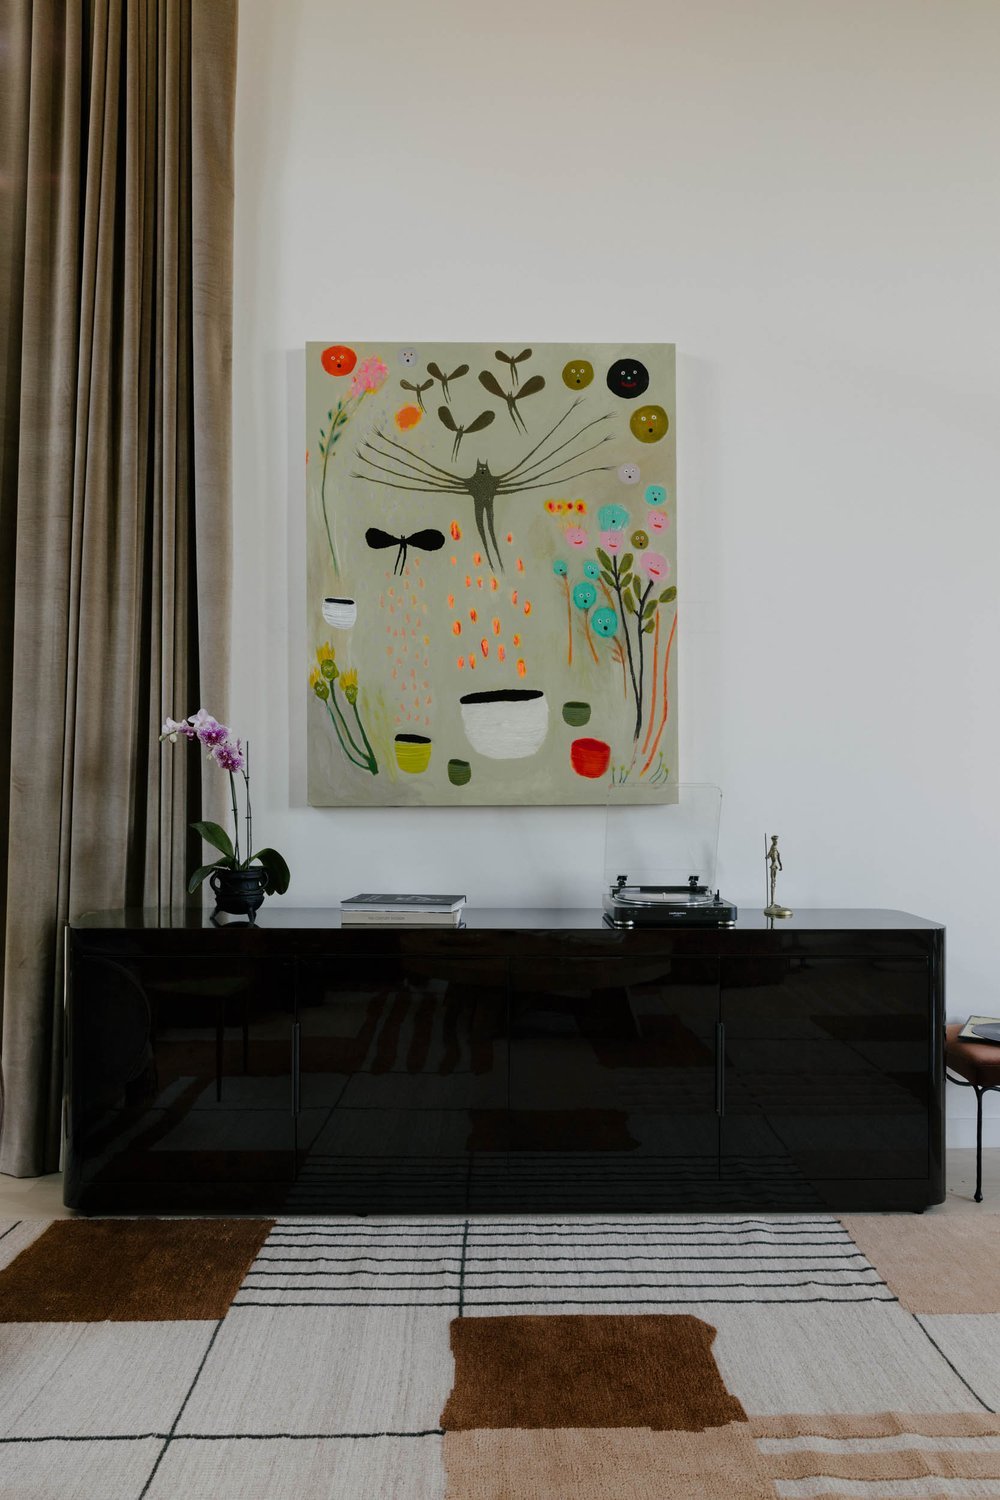
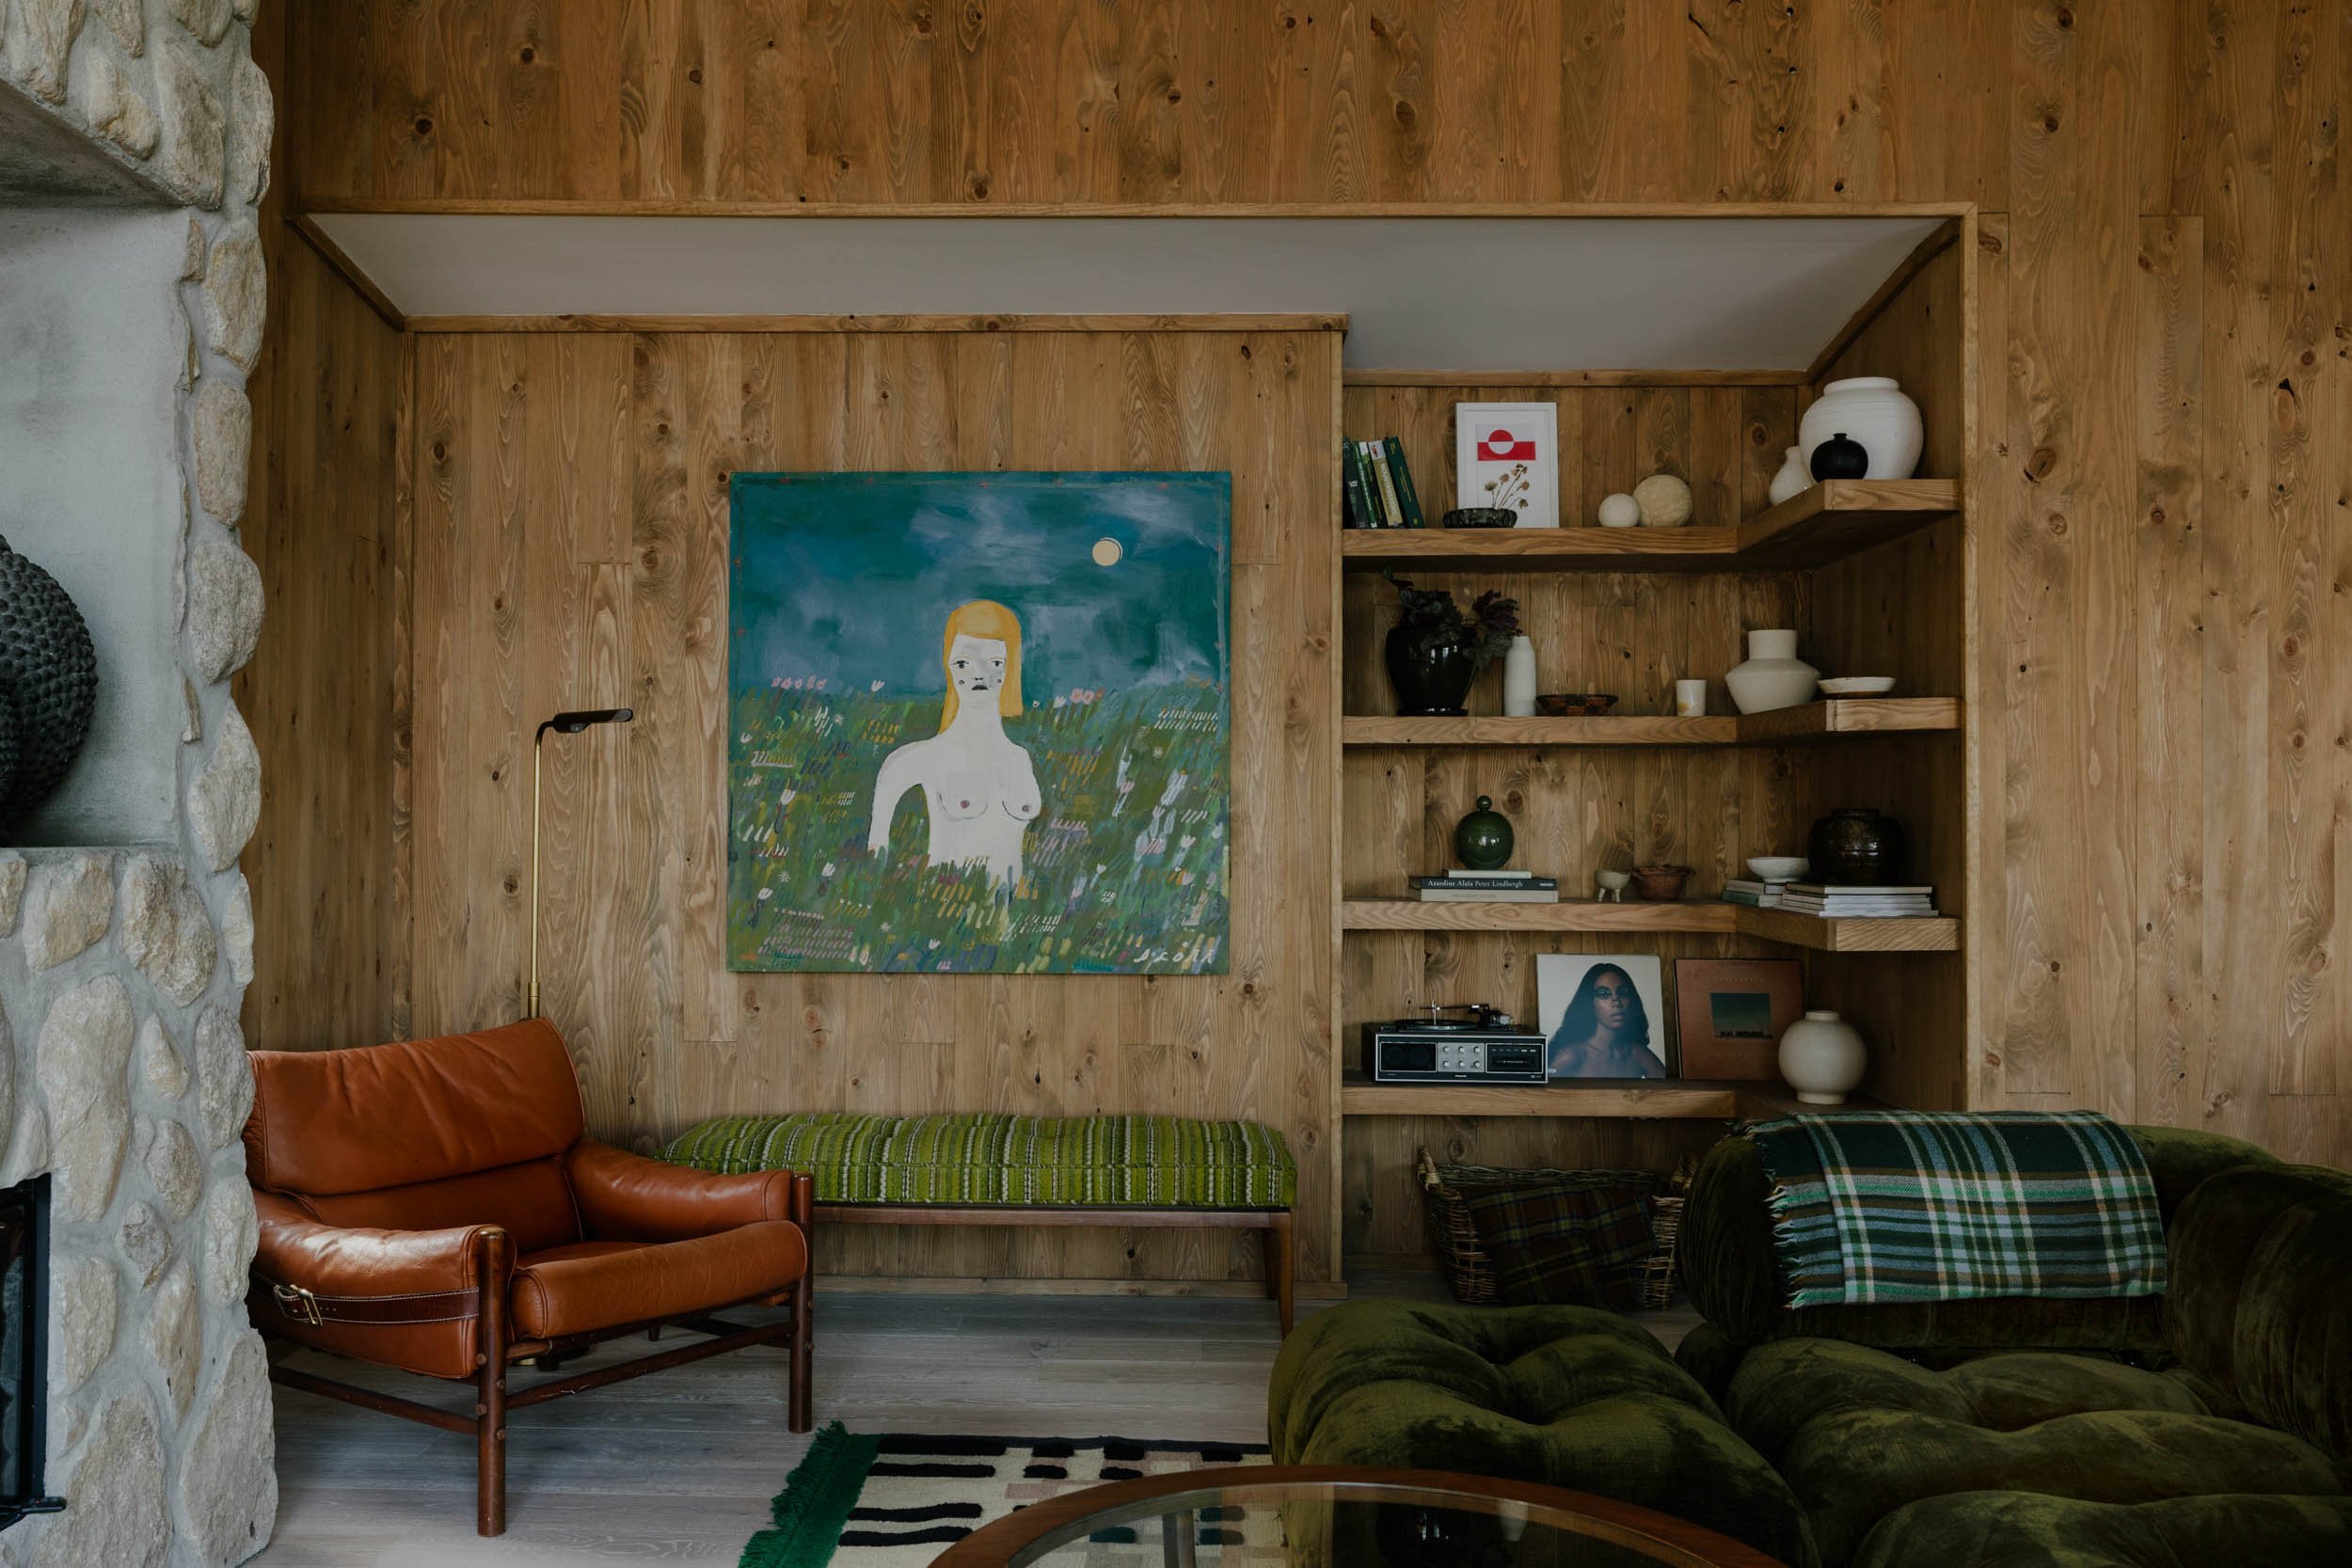
Have you ever purchased the perfect piece of artwork only to realize that when you brought it home, you weren’t sure how to hang it properly?
Art can transform a space, infusing it with emotion and style. How you display artwork can impact the ambiance of a room, making it essential to get it right. That’s why in this guide, we’re diving into all things related to hanging artwork.

Set the Right Tone
Before you grab a hammer, take a moment to assess your space. Consider the available wall space, the existing decor, and the lighting conditions. Think about the mood you want to create and select artwork that compliments your vision.
Tools and Materials for Hanging Artwork
To hang artwork like a pro, you’ll need the proper tools and materials. Make sure you have a variety of hanging hardware on hand, including hooks, nails, and wires. A measuring tape and level are essential for ensuring accuracy, while a hammer and pencil will help you mark and install hardware with precision.
Depending on the type of artwork, the weight of the piece will determine what you’ll need. Follow these guidelines below:
- Light-weight pieces: For small light artwork, a pack of small nails will suffice.
- Medium-weight pieces: Pieces that are more than a couple of pounds need more support. Consider adding a few picture hangers to your cart to ensure stability.
- Heavier pieces: Heavier items such as large pictures or mirrors necessitate a more robust hanging approach. You’ll need large nails or screws, a stud finder or wall-plug anchors, and a hammer or screwdriver to securely mount them.
Before hanging your artwork, it’s crucial to examine the back of the picture to identify the type of hanging hardware present. Common hardware options include hanging wire, D rings, or a sawtooth hanger. This information will guide your choice of hardware and ensure a secure fit. For instance, ensure that the nails you choose aren’t too big for your D rings, avoiding potential complications during the hanging process.

Planning and Placement of Artwork
Finding the perfect placement for your artwork is key to creating a harmonious display. Take the time to determine the ideal height for hanging, keeping in mind eye level and the overall proportions of the room. Experiment with different arrangements, considering factors like symmetry, balance, and visual flow.
Step-by-Step Hanging Process
Once you’ve settled on a placement, it’s time to hang your artwork. Hanging artwork involves more than just hammering a nail into the wall. To ensure your pieces are perfectly positioned and secure, you’ll need to carefully plan and hang your artwork. Follow these steps for a flawless result:
- Mark the 60-inch Point: The center of the artwork should be at eye level—60 inches from the floor. Mark this point at the center of your wall. This is where the center of your artwork will go.
- Find the Center: Measure the total height of your frame and divide it by two to determine the center.
- Measure Hanging Wire or Hook: Start at the top of the frame and measure to the top of your securely tightened picture hanging wire or hook. Deduct this measurement from the center frame measurement obtained in Step 2. This result indicates how far above the picture’s center point your hook (or hanging mechanism) should be positioned.
- Determine Hang Height: Add the measurement from Step 3 to the 60 inches (your center height). This final sum represents the distance from the floor to where you should install your hook or nail, or your hang height.
- Measure Twice, Drill Once: Before drilling holes or driving nails, double-check your measurements to ensure accuracy. Because, once you’ve made a hole in the wall, there’s no turning back.
Following these steps will help you achieve the perfect placement for your artwork, creating a visually appealing display that enhances your space.

Alternatives to Hanging Artwork
While hanging artwork on the wall is the traditional display method, there are alternative approaches that can add a unique touch to your space. Consider these creative alternatives to hanging:
- Leaning Artwork: Leaning artwork against the wall is a casual yet stylish way to showcase your pieces. This works particularly well for larger pieces or groupings of smaller artworks. By leaning artwork against the wall, you can easily change the display without the need for nails or hooks. Try different angles and arrangements to create visual interest.
- Gallery Shelves: Gallery shelves offer a versatile and flexible way to display artwork without the need for hanging hardware. Simply install floating shelves or picture ledges along the wall and place your artwork directly on the shelves. This is a great option if you like to switch up your artwork display, allowing you to swap out pieces whenever inspiration strikes.
- Easel Display: Easels provide a classic and elegant way to showcase paintings, drawings, and other artworks. Simply place an easel on a tabletop, mantel, or shelf, and prop your artwork on the stand. Or go for a larger freestanding easel. Easels come in many styles and sizes, making it easy to find one that suits your home.
- Display Stands: Display stands are another alternative to hanging artwork on the wall. They come in a variety of styles and materials, including metal, wood, and acrylic. Simply place your artwork on the stand and position it anywhere in the room for maximum impact.
- Picture Rails: Picture rails offer a flexible and customizable way to display artwork without damaging your walls. Simply install a picture rail along the top of the wall and use hooks or clips to hang your artwork. This method is preferable for gallery walls or older homes when you want to protect the wall or create an antique aesthetic.
By exploring these alternative display methods, you can create a dynamic and visually engaging environment that showcases your artwork in a unique and personal way.

Troubleshooting and Adjustments
Even with careful planning, you may encounter challenges when hanging artwork. Uneven walls, tricky surfaces, and changing lighting conditions can all affect the way artwork is displayed. Be prepared to make adjustments as needed, using shims or additional hardware to ensure stability and balance.

Artwork Care
Once your artwork is up on the wall, it’s important to keep it looking flawless! Regular cleaning and dusting will help preserve its appearance, while proper placement can prevent damage and fading over time. Consider rotating your artwork periodically to keep your display fresh and engaging.
Final Thoughts
Hanging artwork is both a science and an art, requiring careful planning, precision, and creativity. By following the tips outlined in this guide, you can create a stunning display that enhances your space and showcases your style. So unleash your creativity, and transform your walls into a gallery of masterpieces.


